As we head into the second quarter of 2022, we would like to take the opportunity to provide you with an overview of some of the key new features that were recently released during the first quarter of 2022.
As an organisation, we would like to thank all of those who have provided feedback and suggestions for new features. We have and continue to take into account our clients ideas, in addition to our pool of thoughts internally. Overall, we’re making sure everything you need is all in one place.
1. New Features
1.1 Azure Translator
The Azure Translator integration allows you to instantly translate notes from users or other agents into the language that you are currently using in HaloPSA.
When active, a translate button will show for each action note. Press it to translate the note. This will auto-detect the language of the note and translate it into your current language using Azure translator.
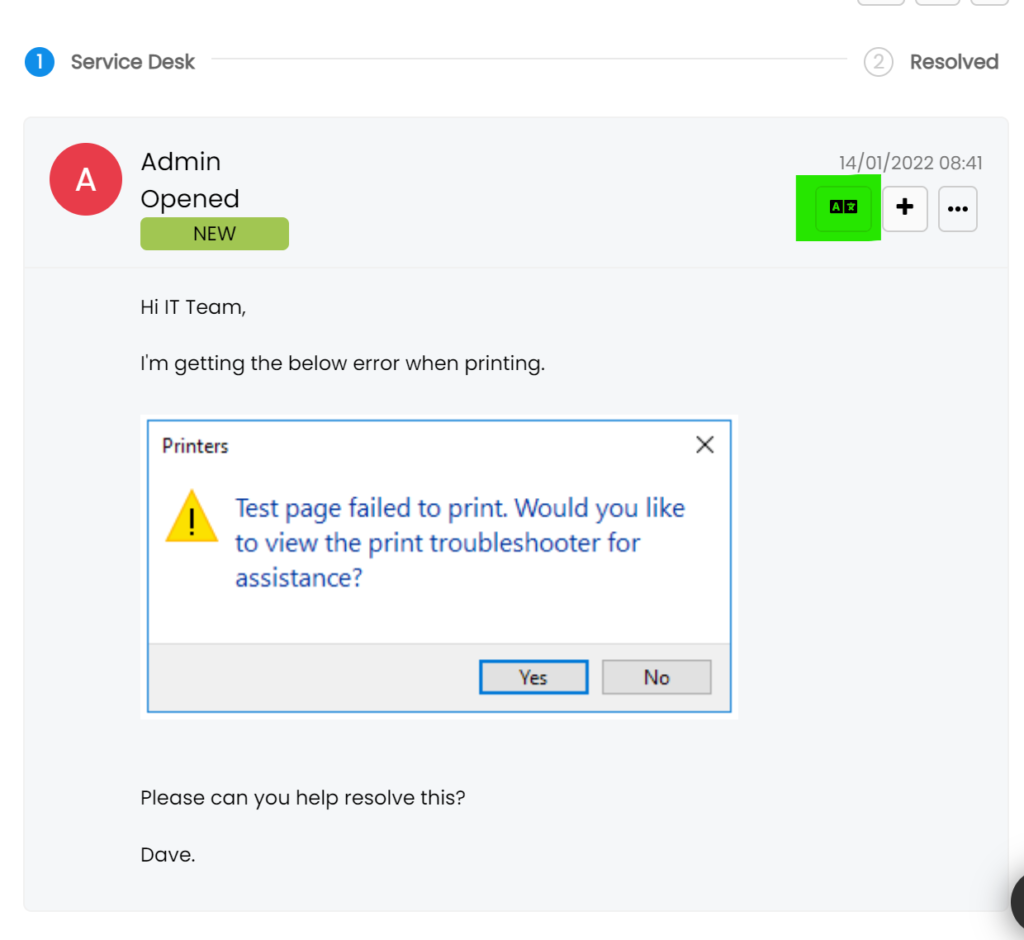
The note will then be replaced with the translated version and pressing the button again will revert to the original.
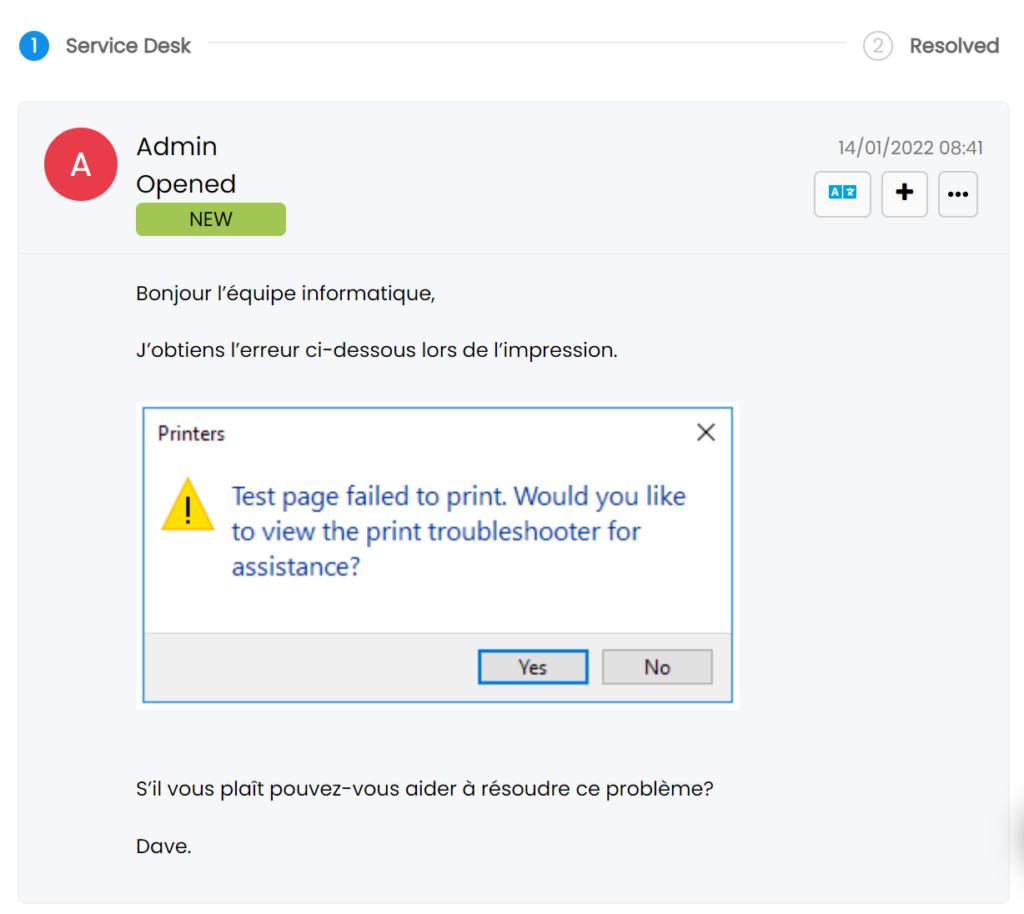
Any notes which are translated are stored in the database and the translation is automatically loaded the next time you view the ticket.
To configure, set up a Translator within Azure > Cognitive Services, and obtain an API Key from “Keys and Endpoints”, and paste your API key in Config > Integrations > Azure Translator – Translator API key.
There are options to choose between translating only plain text (to reduce usage costs), or HTML (to include images and preserve the formatting in the translation). A monthly character limit can also be added here.
1.2 Improvements to Agent Resource Booking
If agent resource booking is enabled, you can specify at ticket type level if you want the ticket to allow booking agents. If so, you can also specify if you want the user to be able to book appointments with the assigned agent or a team.
You can set the default resource booking type in the ticket type defaults, as well as the allowed teams for this resource booking. If it is set to team, the user can pick from the allowed teams when booking an appointment. Also, if it is set to use the assigned agent and the ticket is unassigned, it will use the ticket’s team to assign an appointment.
There is also now a setting at ticket type level to allow user’s to book an appointment with an agent from the portal, which will add a button to any ticket of that type when the user is logged in that will take them straight to the booking screen. The user will be informed on the ticket if they already have an appointment scheduled for that ticket.
1.3 Added ‘My Inbox’ Functionality into Sales Mailboxes
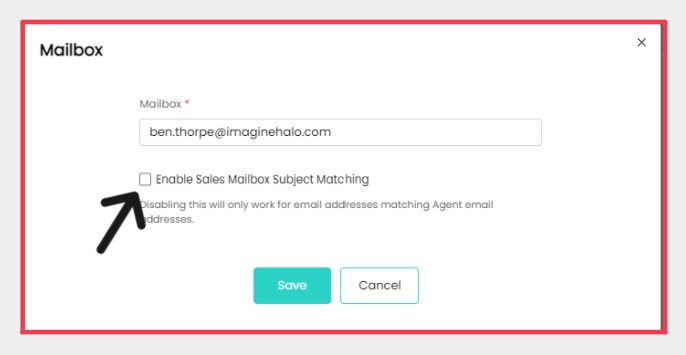
Unchecking the setting, as seen in the image above, within the Sales mailbox configuration, will enable the “My Inbox” functionality.
If the mailbox matches an agent email address, a mailbox module with automatically be added to your homescreen and side menu.
Instead of adding actions to existing tickets, all emails in the sales mailbox will be viewable on the “My Inbox” screen until the email has been added to an existing opportunity, added to a new opportunity, or deleted.
2. New Integrations
3. Upcoming Developments
As part of the Xero integration, the following five features will be added:
1. Subscribe to Xero webhooks for Customers and Invoices. This allows Customers to automatically be created/updated whenever they are created/updated in Xero. The paid date of invoices can also be automatically set in HaloPSA.

2. Accounts can now be imported from Xero into Halo. The Accounts Codes module must be enabled in Halo for this feature to be available. In preparation for point 3, this will automatically set the tax rate that is linked to the accounts code.
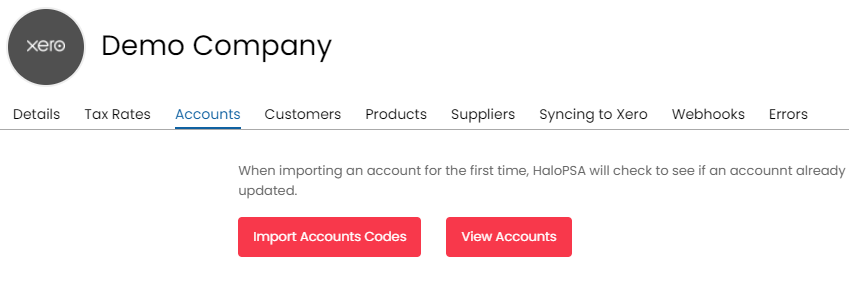
3. Items can now have their tax rates set based on the accounts codes which is set against the item. This option can be enabled in the Items and Stock Control module.

4. Invoices can now be sent from Xero rather than HaloPSA. This can be enabled in the Xero module. This feature works for manually sent invoices, and also invoices which are being raised automatically. If automatically sending invoices, you must ensure that you have correctly configured the default status fields for Xero invoices, otherwise the invoices may fail to send (status cannot be DRAFT).

5. If sending an invoice from Halo instead of using the new setting in point 4, a note will now be added to the invoice history in Xero showing that the invoice was sent from HaloPSA.

The following features will be available in the QuickBooks Online integration.
1. You can now connect multiple QuickBooks Companies to HaloPSA. If you were previously connected to a QuickBooks company, you will remain connected. This change has incorporated a complete redesign of the QuickBooks integration setup screen.
2. When connecting to a company, the company preferences from QuickBooks will be applied for “allow online bank transfers and credit card payments”. If this field is set to true, then bank transfers and credit card payments will be set to allowed on any new invoices sent to QuickBooks.
For any of our customers who already had this functionality enabled based on their licence name – this field has been automatically turned on for you.

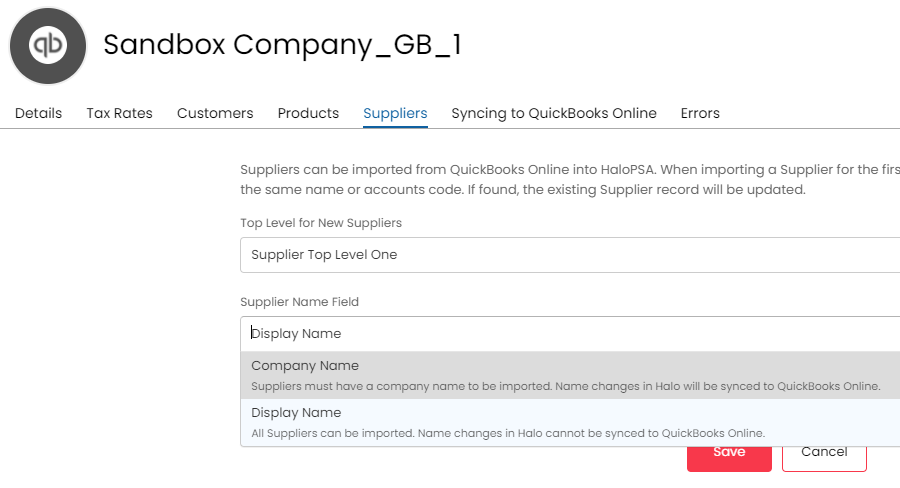
3. All customers can now be imported, regardless of whether the ‘companyName’ field is populated in QuickBooks Online. To enable this, you must choose “Display Name” from the following drop down. Note that this disables syncing name changes to QuickBooks.
4. Default accounts for items are now set at QuickBooks company level. These fields have also been filtered so only the correct types of accounts will show for each field. For example, the income account dropdown which can be seen in multiple places throughout the HaloPSA application will only show valid income accounts, rather than a complete list of all accounts.

5. Suppliers can now be imported from QuickBooks Online. Like customers, you can choose whether to use the Company Name or Display Name field for importing.
6. Suppliers and Purchase Orders can now also be synced from HaloPSA to QuickBooks Online.

There are a variety of default/required settings for the outbound sync to be successful. For example, Purchase Orders have the following fields available:

7. An errors tab is now available when viewing a QuickBooks company. Should an outbound sync fail for any reason, errors will be stored against the QuickBooks Online company and visible to administrators. By double clicking the error, you will be taken to the entity for which the outbound sync failed.

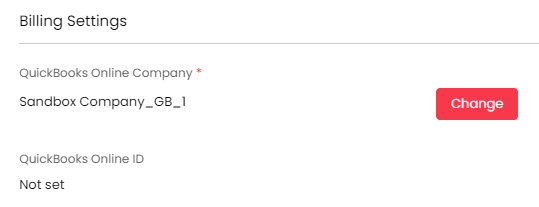
8. A default QuickBooks Online company can be selected in the integration setup. When creating a new customer, item or supplier, the company field will be automatically set to this value. The company field can be seen under the Billing Settings heading of each entity. The company cannot be changed once it has been assigned to the entity.
For customers and items, to change the company (if applicable), you must first press the change button to edit the field.
9. An new setting allows you to choose whether to sync customer/supplier statuses with QuickBooks Online.

10. A default tax code can be chosen per QuickBooks company. This applies to US customers only.
11. A button now displays on Customers, Suppliers, Invoices and Purchase Orders allowing you to open the entity in QuickBooks Online. Note that it is not possible to do this for Items, as the QuickBooks Online interface does not support opening items via an ID number in a URL.
For more information:
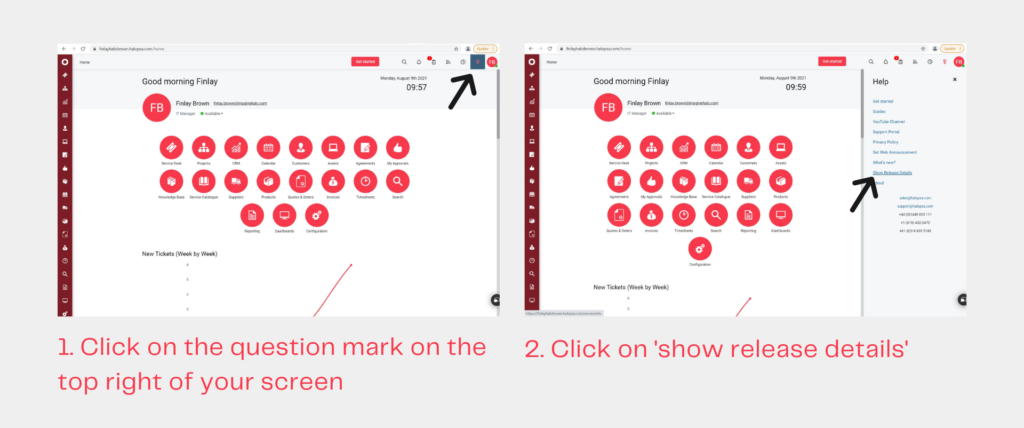
If you would like to learn more about future developments, check out our roadmap here.
Want a more in-depth discussion about specific features, or simply have a question? Feel free to reach out to your customer success manager or Contact us, and we’ll get back to you shortly.
